
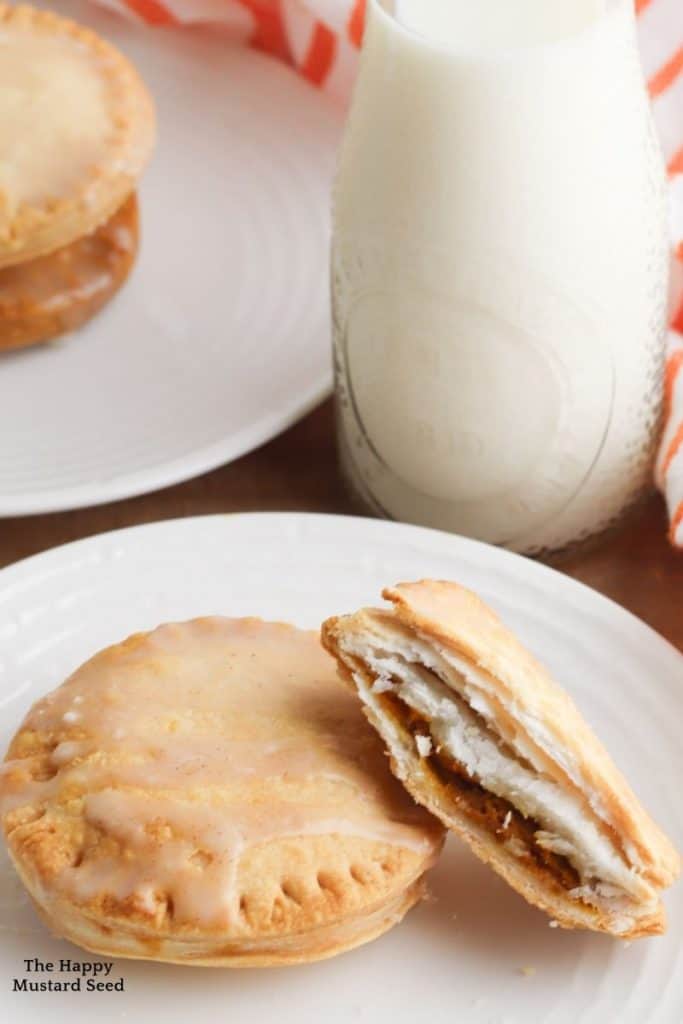
These pumpkin hand pies are made quickly in your air fryer. The pumpkin spice filling only has 6 ingredients and is easy to make. Everyone will love these mini pumpkin pies. Similar to these are my crust-less pumpkin pie in a jar. Both are tasty pumpkin desserts that are easy to make and can be made the night before.
This post contains affiliate links, which means I receive a commission, at no extra cost to you, if you make a purchase using this link. Thank you!
MORE PUMPKIN DESSERTS YOU’LL LOVE
For more Fall recipes see our Moist Pumpkin Cupcakes, Pumpkin Pie In a Cup for more yummy goodness!
Air Fryer Mini Pumpkin Pies Recipe
Are going to be one of those recipes that you put into your favorites list. These are actually really fun to make with the kids. If you have an aspiring baker, this recipe is also great for them to make.
Ingredients:
For the cinnamon glaze:
- ½ cup powdered sugar
- ¼ teaspoon cinnamon
- ¼ teaspoon vanilla
- 1 to 2 tablespoons milk
For the Pumpkin Pie Filling:
- 1 package premade pie dough
- ½ cup sugar
- 1 egg
- 1 cup pumpkin puree
- ½ teaspoon cinnamon
- ½ teaspoon vanilla extract
- 1 teaspoon pumpkin pie spice
I love making hand pies. They are simple to make and you can make them sweet or savory. You can make them with anything from pizza ingredients, apples, pears, cherries, chicken, pork, cabbage, potatoes and roast beef. You can even make hand pies with anything from
Mexican, African or Carribean flavors.
So many options, those are just a small handful.
Quick tip: Use refrigerated ready made pie crust to make this recipe.
These step by step photos of ingredients and instructions are here to help you to visualize how you can make the recipe. Please scroll down further if you would like to print out the recipe
Set out the pie dough to bring it to room temperature
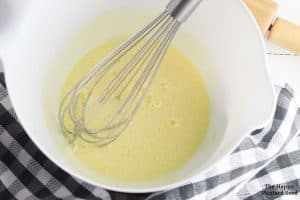
In a large bowl, whisk together the sugar and egg until smooth
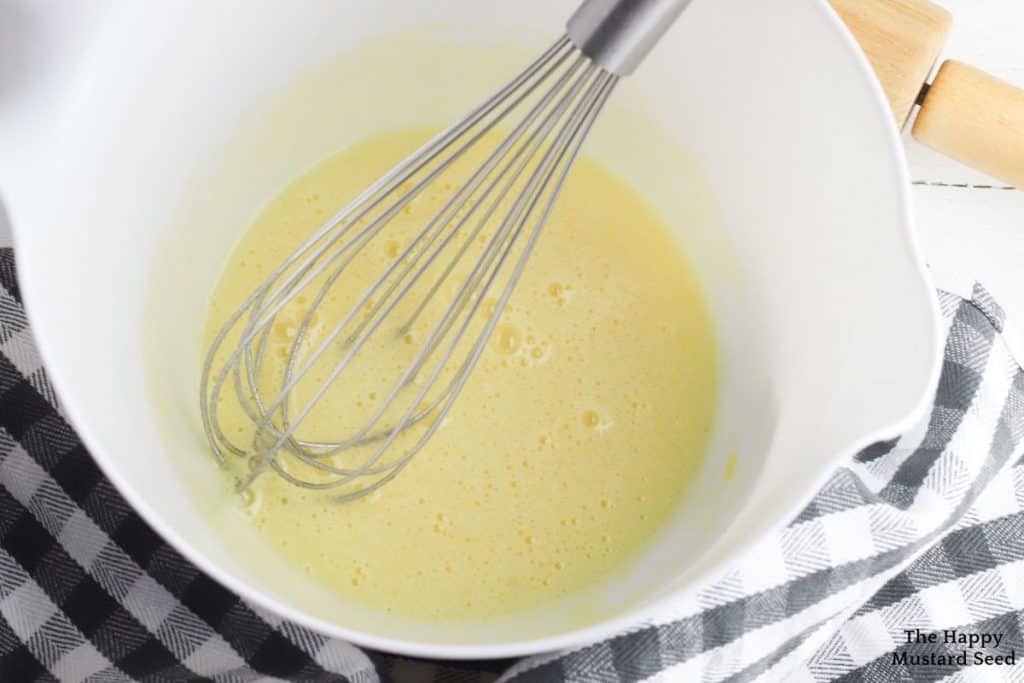
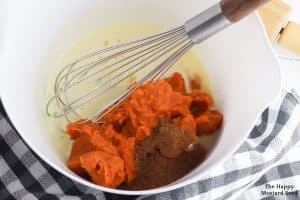
Add the pumpkin, cinnamon, vanilla, and pumpkin pie spice. Whisk until well blended

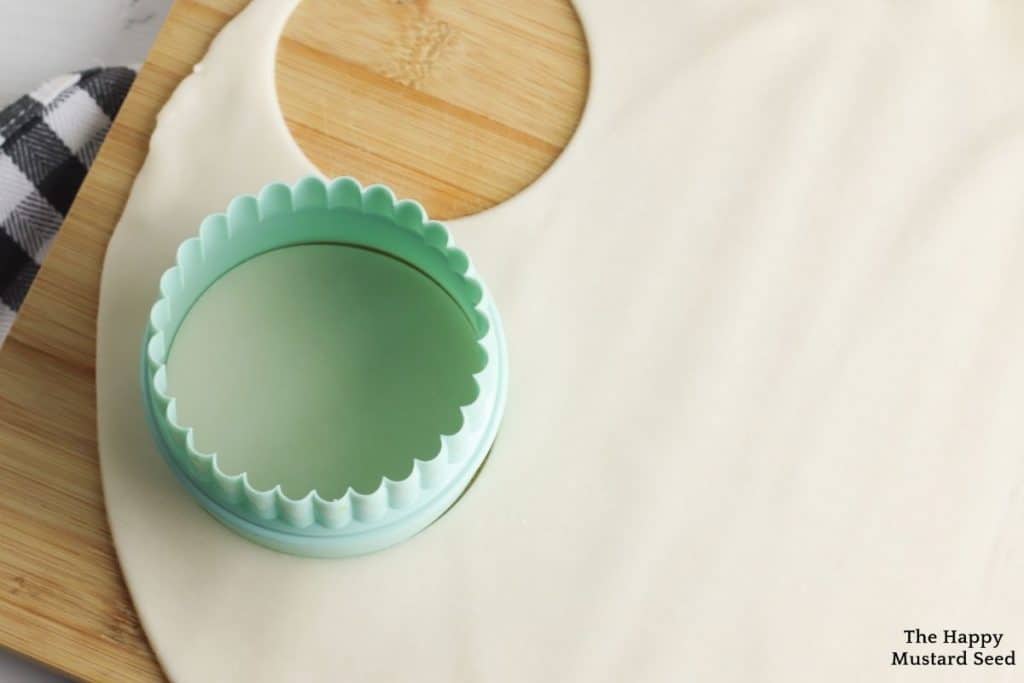
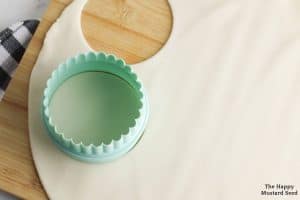
Unroll the pie dough and use a 3-inch round cookie cutter to cut out 20 circles
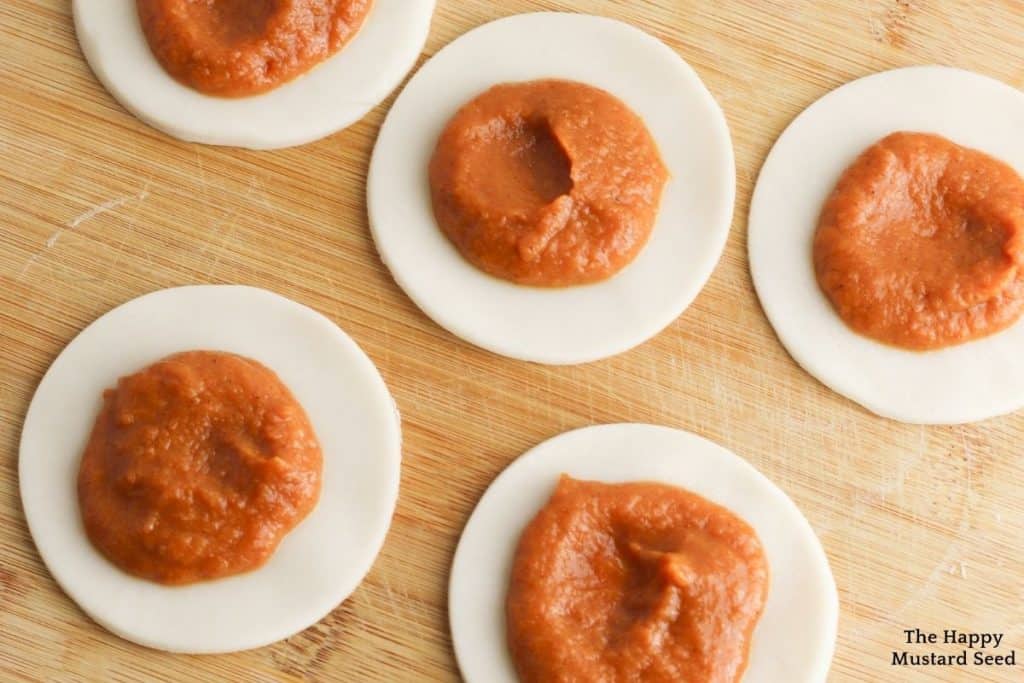
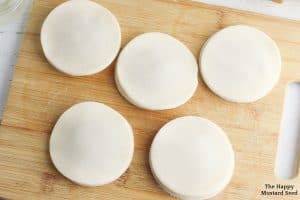
Place 10 of the pie dough circles on a flat surface
Spoon a small amount of pumpkin mixture into the center of each pie circle

Dip your finger in water and run it around the edge of each pie dough circle
Place the remaining 10 circles on top of the pumpkin mixture

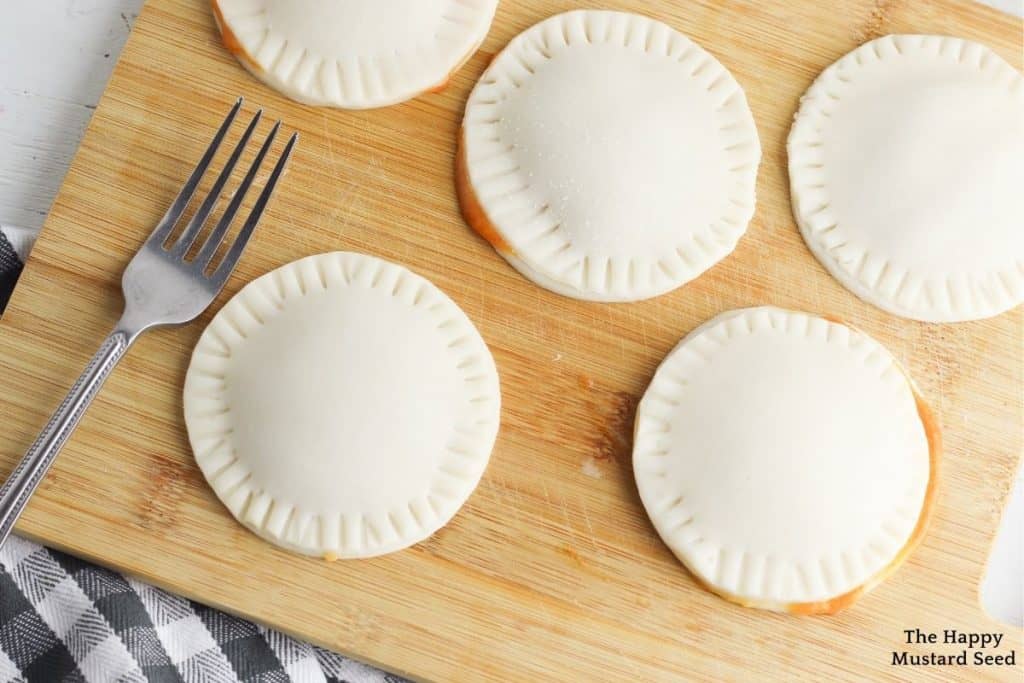
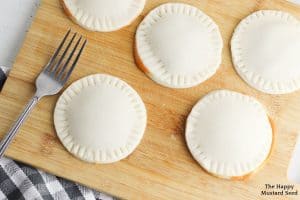
Use a fork to seal the pumpkin pies by pressing the fork around the edge of each circle
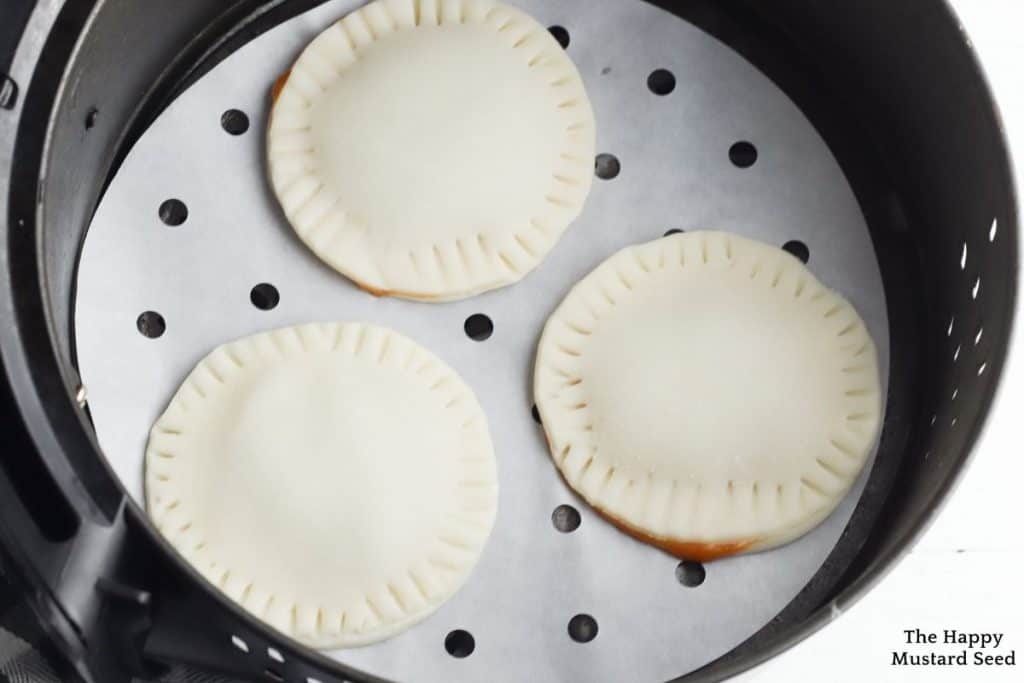
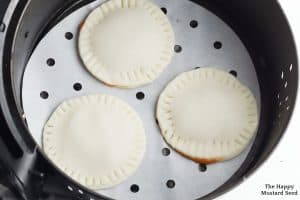
Place three to four pies in the basket of the air fryer, making sure the pies don’t touch as they cook
Cook the pies at 360 degrees for 14 to 16 minutes, flipping the pies halfway through. Continue cooking in batches until all the pies are cooked
When all of the pies are finished cooking it is time to make the glaze.
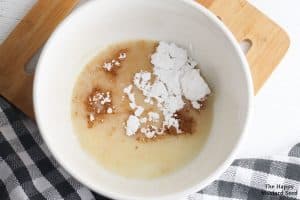
Whisk together the powdered sugar, cinnamon, vanilla, and one tablespoon of milk. To thin the glaze, add additional milk, if needed

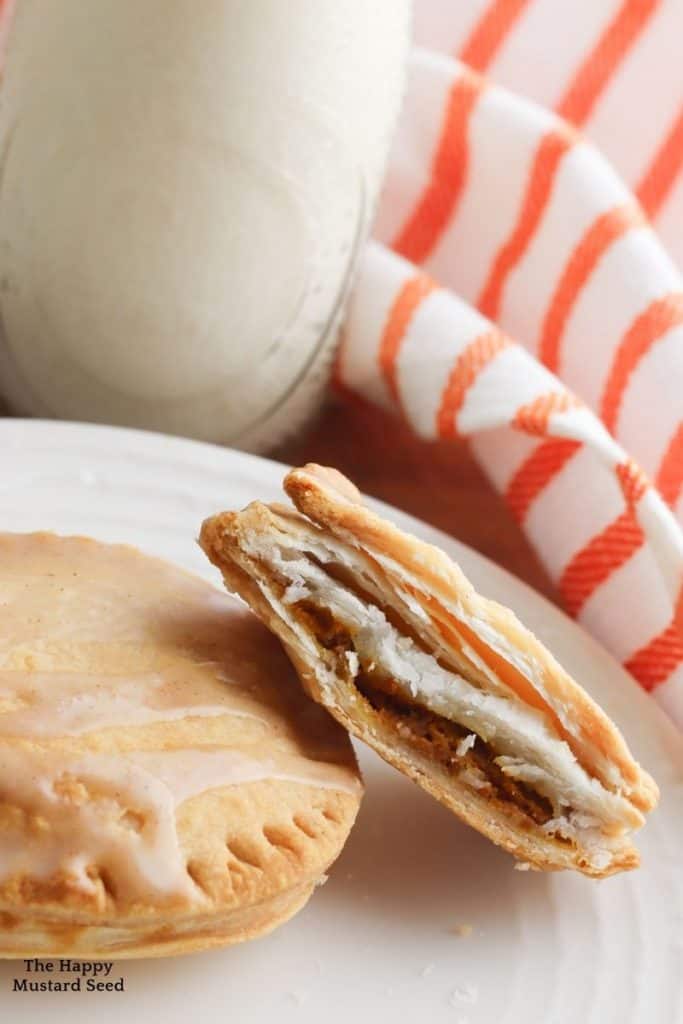
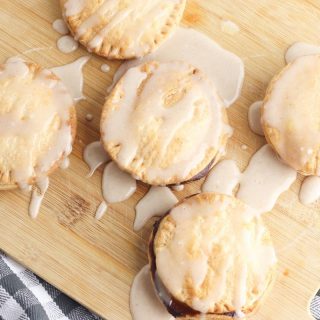
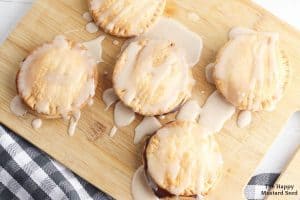
Drizzle the glaze over the top of each pie

Allow the glaze to set before serving
Pumpkin Hand Pie Recipe Instructions
- Set out the pie dough to bring it to room temperature
- In a large bowl, whisk together the sugar and egg until smooth
- Add the pumpkin, cinnamon, vanilla, and pumpkin pie spice. Whisk until well blended
- Unroll the pie dough and use a 3-inch round cookie cutter to cut out 20 circles
- Place 10 of the pie dough circles on a flat surface
- Spoon a small amount of pumpkin mixture into the center of each pie circle
- Dip your finger in water and run it around the edge of each pie dough circle
- Place the remaining 10 circles on top of the pumpkin mixture
- Use a fork to seal the pumpkin pies by pressing the fork around the edge of each circle
- Place three to four pies in the basket of the air fryer, making sure the pies don’t touch as they cook
- Cook the pies at 360 degrees for 14 to 16 minutes, flipping the pies halfway through. Continue cooking in batches until all the pies are cooked
- When the pies are finished cooking, make the glaze by whisking together the powdered sugar, cinnamon, vanilla, and one tablespoon of milk. To thin the glaze, add additional milk, if needed
- Drizzle the glaze over the top of each pie. Allow the glaze to set before serving
Can I Freeze These Hand Pies?
Yes! If you wanted to make these for now and save some for later in the year, you absolutely can. You will want to freeze the hand pies without the glaze.
Place them on a sheet tray and let them freeze for about two to four hours. You want to make sure that they do not stick together later.
After the time in the freezer on the sheet pan, you can now put them in a baggie or container for later cooking.
Let it thaw about half way before placing in the air fryer.
Air Fryer Pumpkin Hand Pies
Equipment
Ingredients
- 1 package premade pie dough
- ½ cup sugar
- 1 egg
- 1 cup pumpkin puree
- ½ teaspoon cinnamon
- ½ teaspoon vanilla extract
- 1 teaspoon pumpkin pie spice
- For the cinnamon glaze:
- ½ cup powdered sugar
- ¼ teaspoon cinnamon
- ¼ teaspoon vanilla
- 1 to 2 tablespoons milk
Instructions
- Set out the pie dough to bring it to room temperature.
- In a large bowl, whisk together the sugar and egg until smooth.

- Add the pumpkin, cinnamon, vanilla, and pumpkin pie spice. Whisk until well blended.
- Unroll the pie dough and use a 3-inch round cookie cutter to cut out 20 circles.
- Place 10 of the pie dough circles on a flat surface.
- Spoon a small amount of pumpkin mixture into the center of each pie circle.
- Dip your finger in water and run it around the edge of each pie dough circle.
- Place the remaining 10 circles on top of the pumpkin mixture.
- Use a fork to seal the pumpkin pies by pressing the fork around the edge of each circle.
- Place three to four pies in the basket of the air fryer, making sure the pies don’t touch as they cook.
- Cook the pies at 360 degrees for 14 to 16 minutes, flipping the pies halfway through. Continue cooking in batches until all the pies are cooked.
- When the pies are finished cooking, make the glaze by whisking together the powdered sugar, cinnamon, vanilla, and one tablespoon of milk. To thin the glaze, add additional milk, if needed.
- Drizzle the glaze over the top of each pie. Allow the glaze to set before serving.


Leave a Reply